 .
.
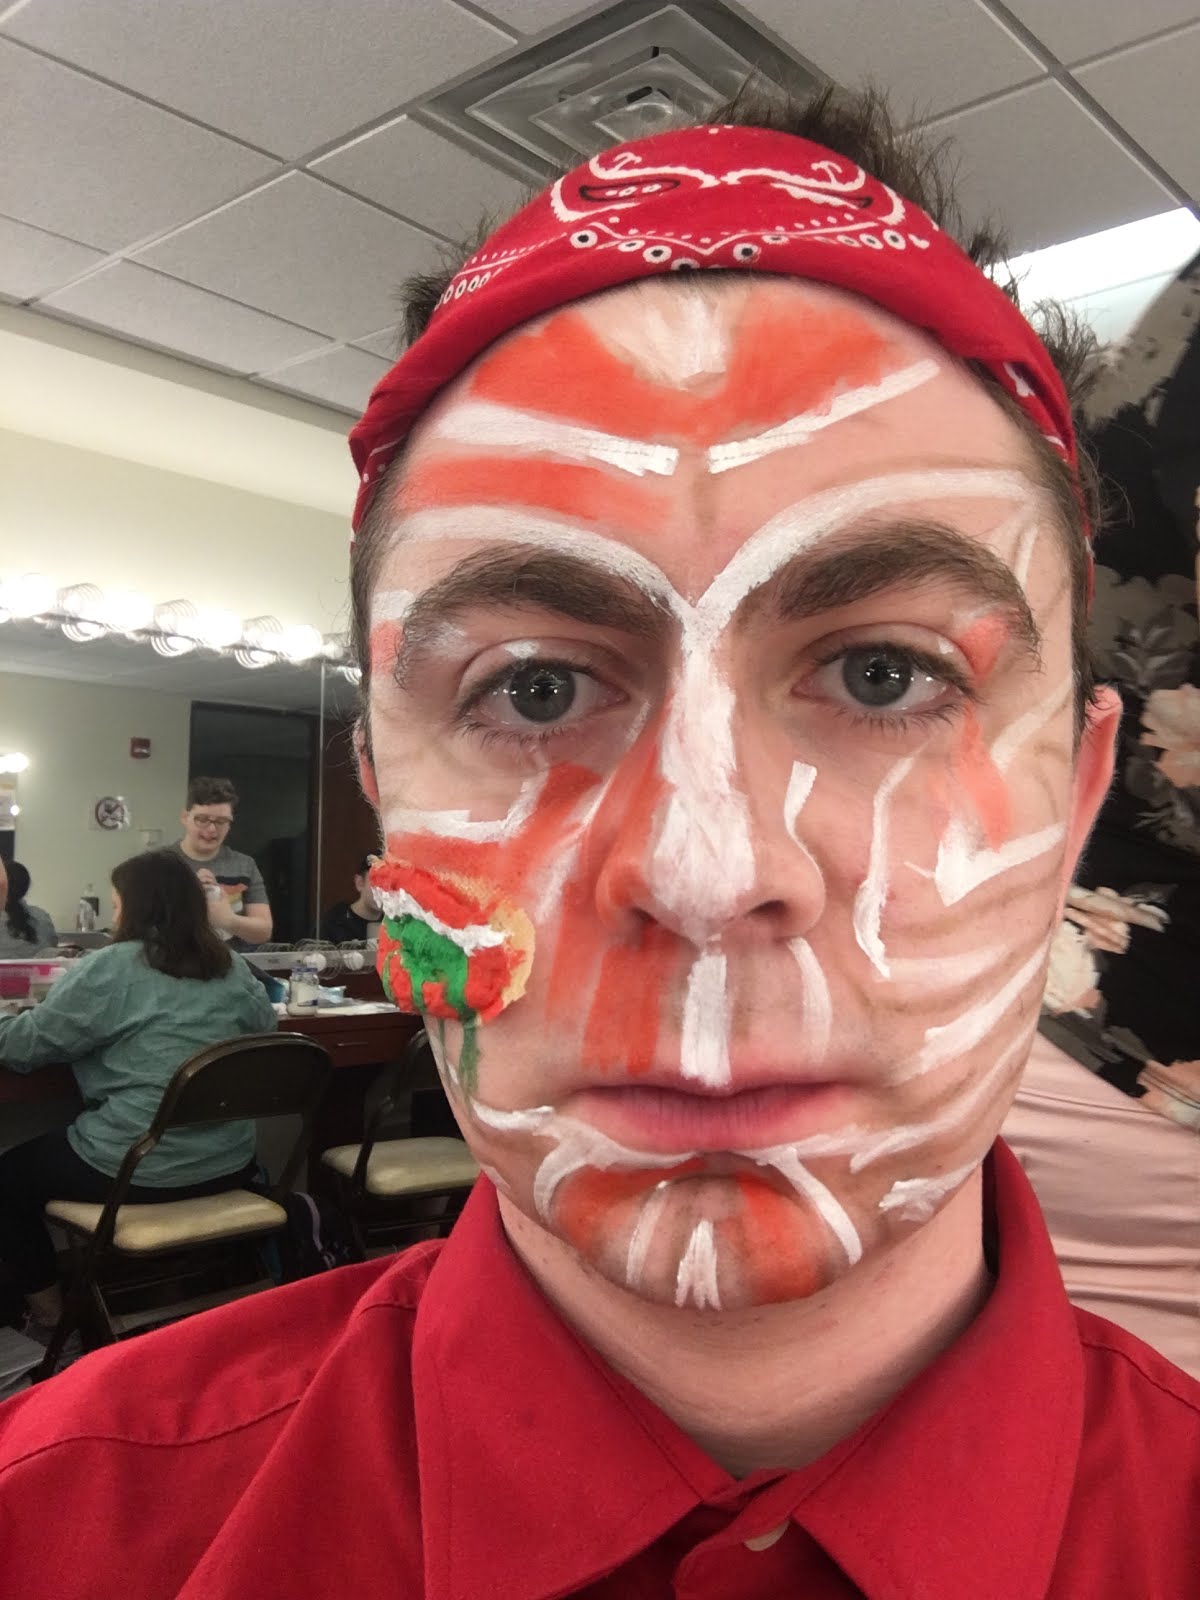
What stood out to me was the red skin and the contrast with the white.
It made me think of raw salmon.
 And it then inspired me to create a design with red and white stripes.
 Here's how I first created the lines for it.
 Here's how the line and color elevations for it separately.
And here's how it looks with the designs put together.
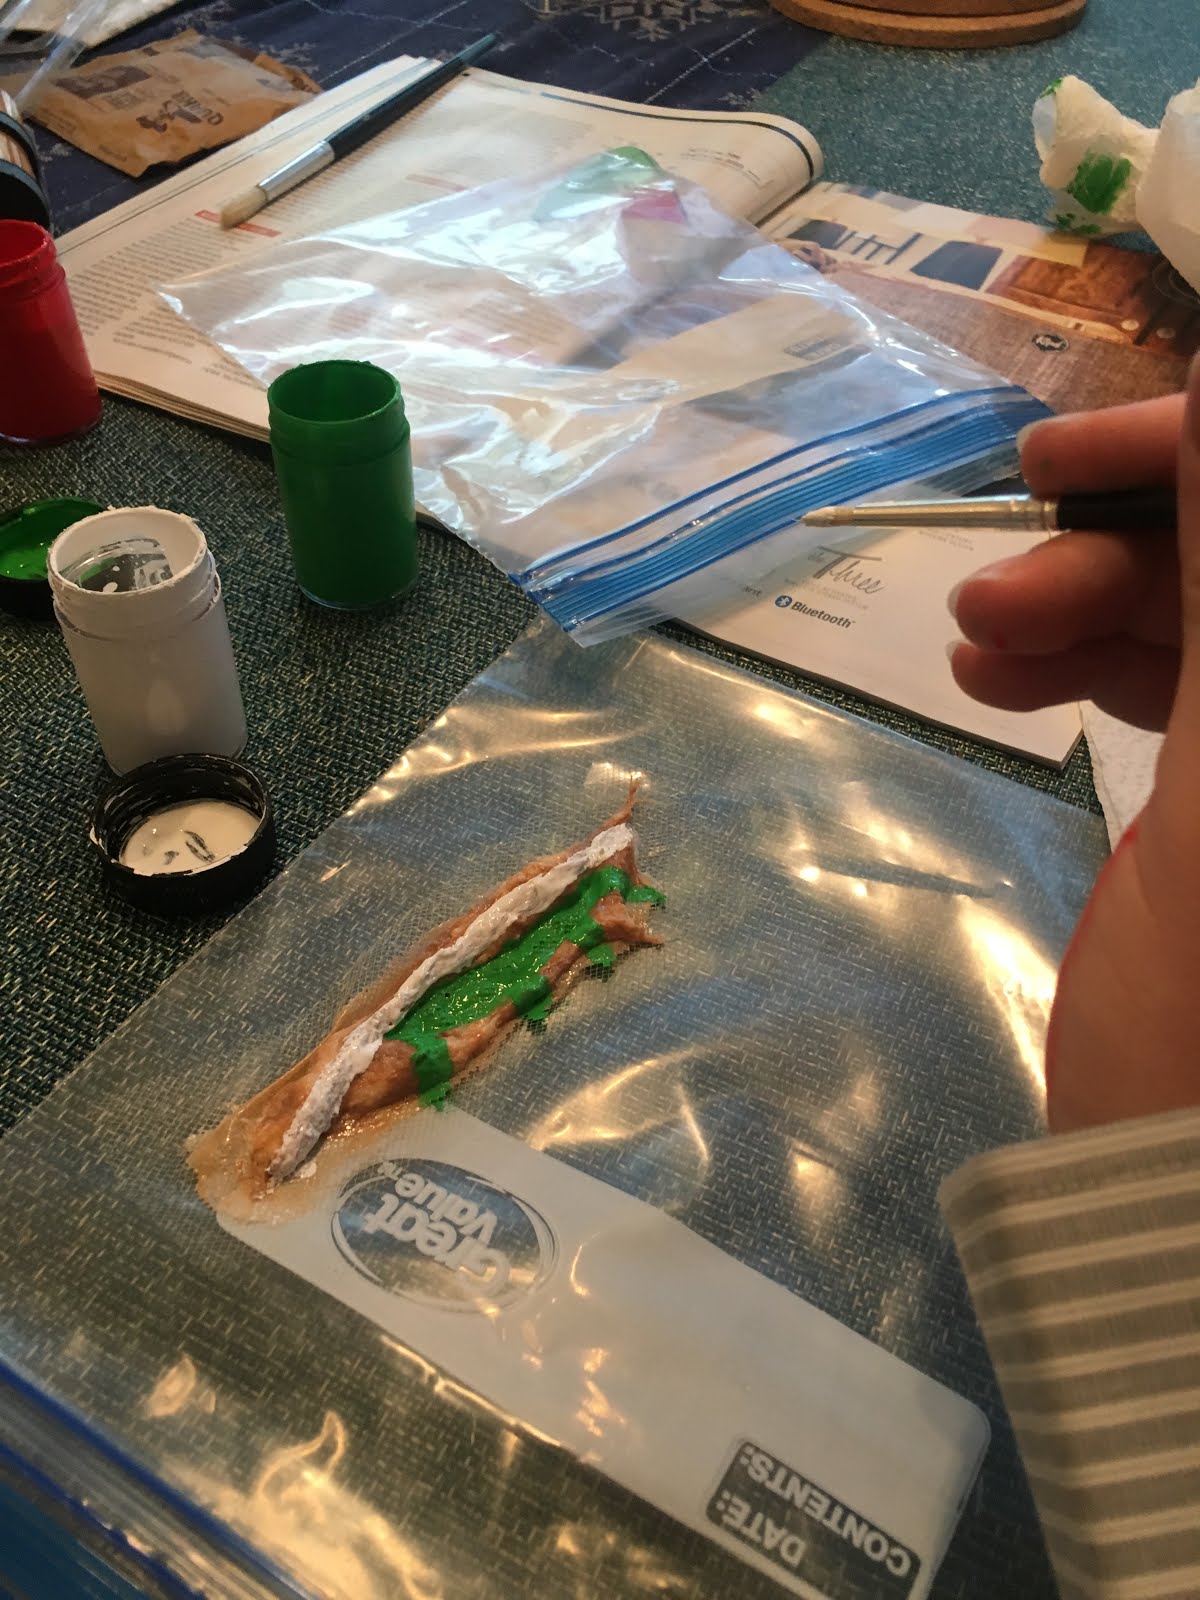
Then I start designing the fresh scar/wound appliance.
 It may be hard to see, but I planned to create 5 appliances in advance so that I wouldn't have to re-use any, and potentially wear out any of the appliances. Here is where I have the shapes, and a piece of cotton laid out before I started to apply any latex.

Then I put the latex onto the bottom part of the design.
 Then I started to put the latex onto the cotton. Sue then gave told me to use the pallet knife instead of the brush from the latex bottle. Which was much easier to get the latex onto the cotton, without getting it caught in the cotton.
I left it in the class room for a while for the latex to dry. On Tuesday after noon, I finished it up, and provided some green to go in the middle. And then on Wednesday night I came back to take them off. And Here's how it looked.

I then took them home during Easter break and painted them with my acrylic paints.

<- Applying green and white.
One of them with the red added. ->
I started with the green blood flowing out. And then paint the red around it. ->
And then on Tuesday April 22nd, I did it the first time.
 <- Here's I am before I start.
 The first thing I did was apply the appliance. It made the most sense to apply it first, and paint the makeup around it.
 <- Next I draw the lines of the design with the brown pencil. And like a coloring book, I try to put the colors inside the lines.
 First add in some of the white, and the green flowing off the side. It made sense to do it like that, since it made sense to do the green first, and put anything around it. Since there's not much green in general. Plus, I don't think the green would look any good if it went over the red.
I then apply the white first. Looking back, it's very obvious, apply the lightest colors first, because once you apply the dark colors, it is going to be very hard to apply light colors after that. Light colors also naturally need more coats to them if you want them to be solid.
 <- Then I start to add the red and a little pink for the scar around the eye
<- Here's the red filled in.


<- I didn't think the eye scare was easy to see, so I outlined it with black pencil.

<- Here I add the dried blood color for the aged lines.

And here it is all finished with the age lines blended.---->

And here are extra pictures taken from different angles:
It reminds me of Macavity from Cats. I was studying that show so maybe it was an unintentional influence.


No comments:
Post a Comment